A Different Disney Autograph Page
Hello!
In January we went to Disney World again. It was not quite a year since our last trip but we just found out my husband got a job back home in Utah and it was our last chance for a while and our last trip where we could drive (DC to Orlando - 12 hours!). And it was also my husband's birthday!
Instead of doing a book this time I did individual panels for the characters to sign. I wish I'd taken more pictures of my process on this but I'll describe it.
I took the shadow for each character and welded it to the square for the signature block. I then sliced the shadow out of the solid layer for the top. I pieced each character together and added them last. This was the first time I'd done Woody, Jesse and Buzz from the Toy Story cartridge. Holy cow - they are detailed with tons of tiny pieces. It was fun but took about twice as long as any of the others. I sized these to be able to fit on a 12x12 layout with pics of my son with the characters.
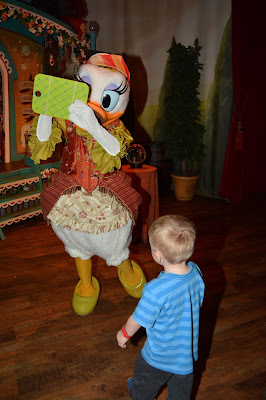
I found a small cutting board at Target and at the park I just slipped the signature block onto the cutting board and my son handed the character the board with a Sharpie. It worked perfectly and was easy for the character to hold and sign.
And I totally dressed him in his Halloween costume when we went to see Woody and Jesse again. It was totally worth it! They get so excited and Nick LOVES them!
But the BEST experience we had was with Buzz Lightyear. Normally Buzz uses a stamp for the autograph books. We got an actual signature because he got so excited over his page.


Comments